
Flooring Transitions When Only Part of a Floor Is Replaced
You're staring at a section of new flooring next to the old, and it doesn't quite sit right. Maybe the color is a shade off, maybe there's a slight height difference you can feel with your foot, maybe the seam just looks obvious no matter which way the light hits it. If a water leak, a fire repair, or even just a cracked section forced you to replace only part of a floor, this mismatch is a real problem, and it's one almost nobody warns you about until you're standing in the middle of it.
Flooring Transitions When Only Part of a Floor Is Replaced
Why partial floor replacement rarely matches perfectly
Flooring materials change over time even when nothing happens to them. Wood planks continue to age and darken slightly with UV exposure. Vinyl and laminate lines get discontinued or reformulated by manufacturers within a few years. Tile is cut from different production lots, called 'dye lots,' and even tile from the same box style can shift in shade between batches. So when new material goes in next to flooring that's been down for a while, a visible line almost always shows up, not because of poor installation, but because the two materials were never made to sit side by side in the first place. Height differences add to this. Old subfloor may have settled slightly, old adhesive layers add thickness, and new underlayment or new plank thickness rarely lines up exactly with what was there before.
The main ways to handle the seam
There are a few standard approaches, and the right one depends on the flooring type, the layout of the room, and how much of a difference you're willing to live with.
Transition strips (T-molding or reducers)
A thin strip of metal, wood, or vinyl placed at the seam. This is the simplest fix and works well where two different materials meet, like tile to wood, or where there's a height difference. It's visible as a line, but it looks intentional rather than accidental, and it protects both edges from lifting or chipping over time.
Blending the transition into a natural break point
Rather than cutting the new flooring right at the damaged edge, the seam is moved to a place where it would look normal anyway, like a doorway, a change in room use, or under where cabinetry or a rug typically sits. This takes more material and more planning, but it removes the 'patch' look almost entirely.
Full room or full run replacement
Instead of patching just the damaged area, flooring is replaced wall to wall in the affected room, or across a full continuous run of flooring (like an open living/dining area). This avoids the mismatch problem altogether at the cost of replacing material that wasn't actually damaged.
Accepting a visible but clean seam
Sometimes the most practical option is a clean, well cut seam without a transition piece, especially with tile or with flooring that's being fully refinished afterward. It won't be invisible, but a straight, level cut line reads very differently than a rough or uneven one.
Questions worth asking before the repair starts
A few decisions early on affect how noticeable the final seam will be. Is the exact flooring product still available from the manufacturer, or does the style need to be special ordered or substituted? Is there leftover material from the original installation stored somewhere in the house, in a garage, attic, or closet, that could be used for the patch? Does the subfloor need to be built up or shaved down to match the height of the surrounding floor? And is the damaged area part of a continuous visual space, like an open floor plan, where a seam in the middle of the room will be far more obvious than one tucked near a wall or under a doorway.
When water or fire damage is the reason for the patch
Flooring damage from a water leak or fire event often extends further than what's visibly stained or charred. Water can wick under adjacent planks or tile through capillary action, and subfloor moisture that isn't fully dried before new flooring goes down can cause cupping, buckling, or mold growth later. This is one of the reasons a damage assessment usually looks at a wider area than just the spot that looks obviously affected, since drying and correcting the subfloor properly matters more than just replacing what's visibly ruined. For more on how that assessment and drying process works, see our pages on water damage restoration and fire damage restoration.
Questions people ask us
Can I just buy the same flooring brand and model to match what I already have?
Sometimes, but flooring lines get discontinued or updated often, and even an identical model number can vary between production runs. It's worth checking with the manufacturer or a flooring supplier before assuming an exact match is available.
Is a transition strip the only option when flooring types are different heights?
It's the most common option, but a subfloor can also be built up or shaved down to bring both sides to the same height, removing the need for a strip. This takes more labor and isn't always possible depending on the materials involved.
Does replacing just one room's flooring instead of patching a section save money?
It usually costs more up front since more material is replaced, but it avoids a visible seam and the risk of a future mismatch if the original product becomes unavailable later.
How do I know if damaged flooring needs to be replaced beyond just the visibly stained area?
With water damage in particular, moisture can spread under flooring that looks fine on the surface. A moisture reading of the subfloor and surrounding material is the only reliable way to know how far the damage actually extends.
The standard our team works to
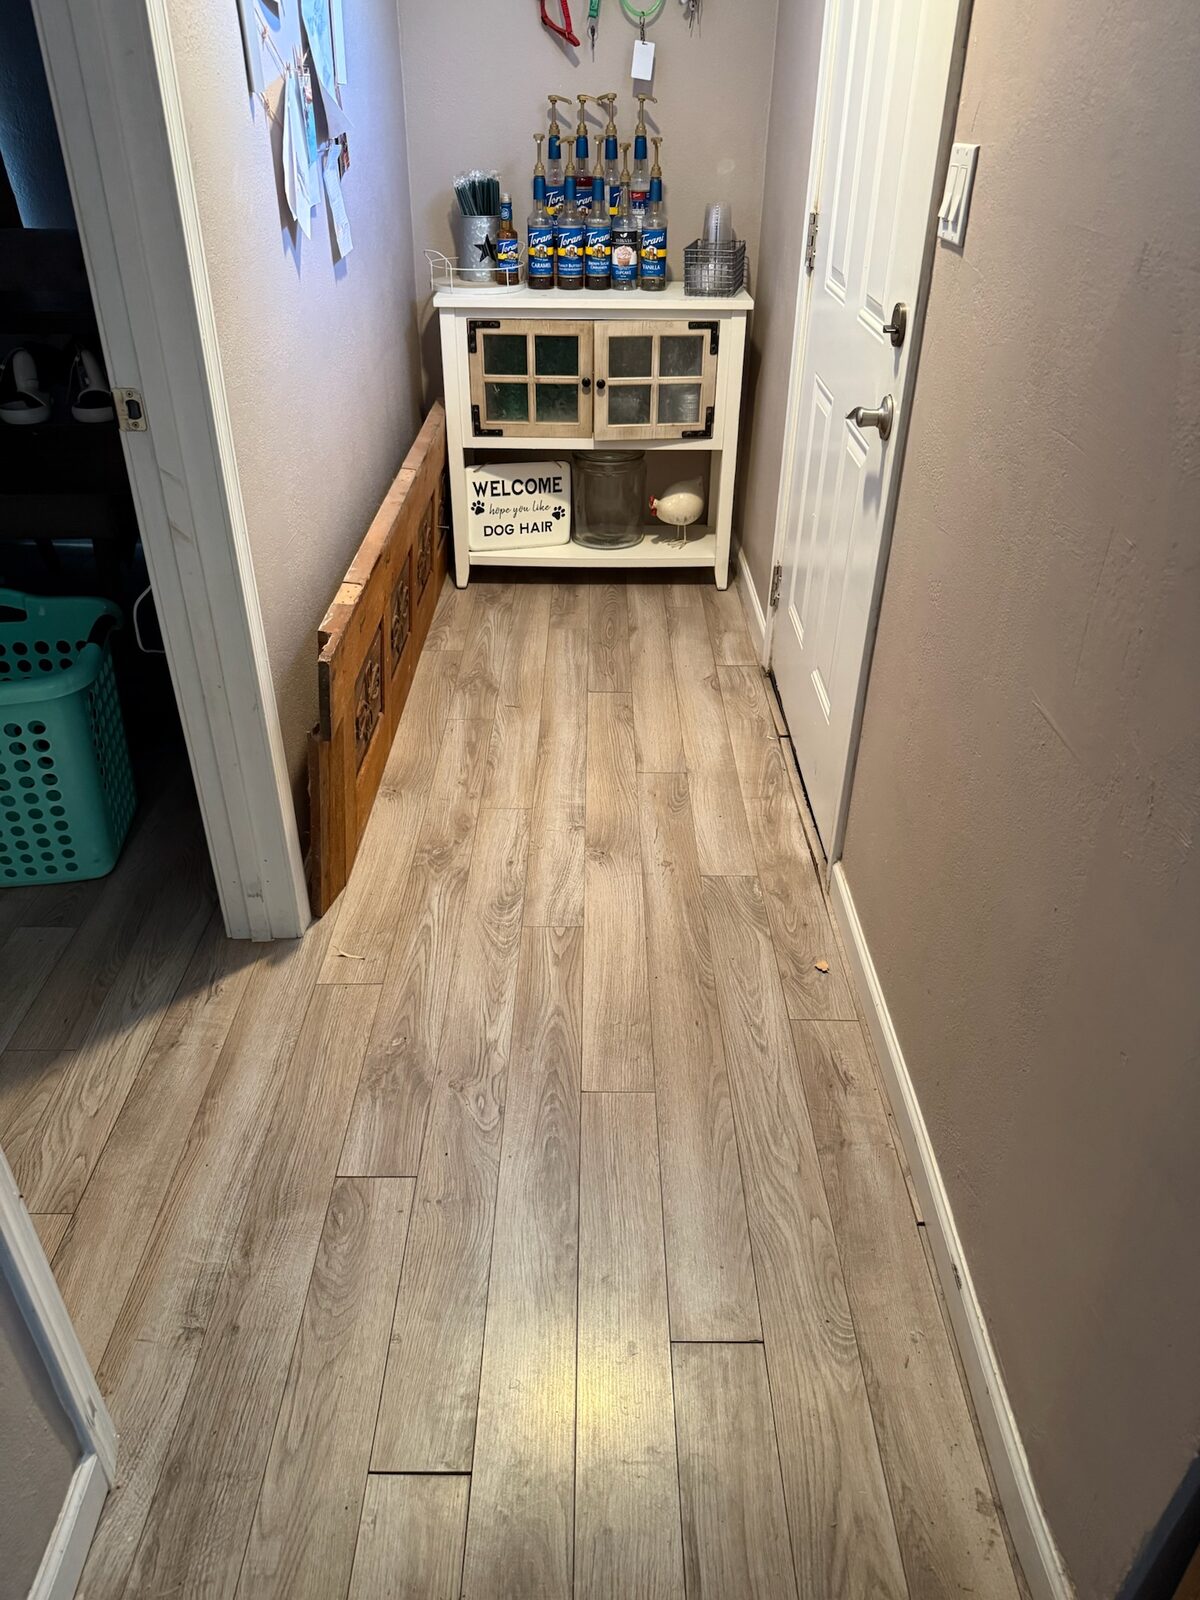
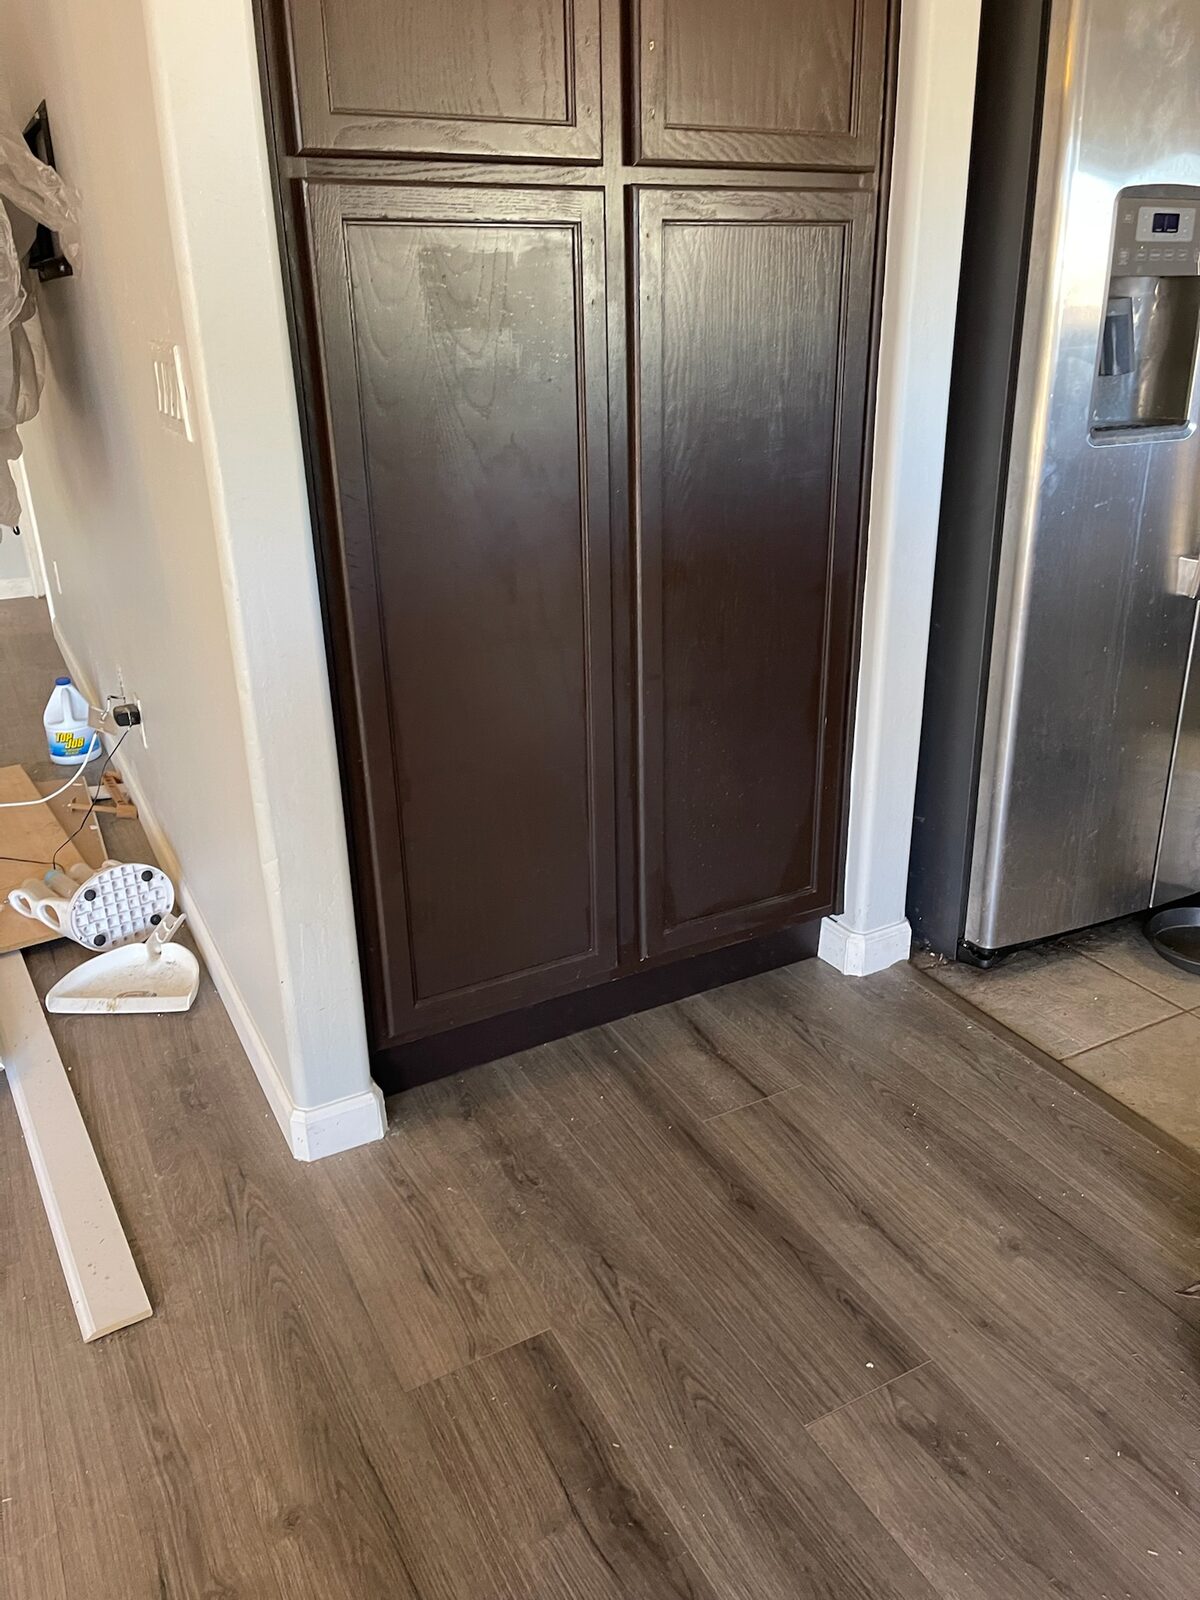
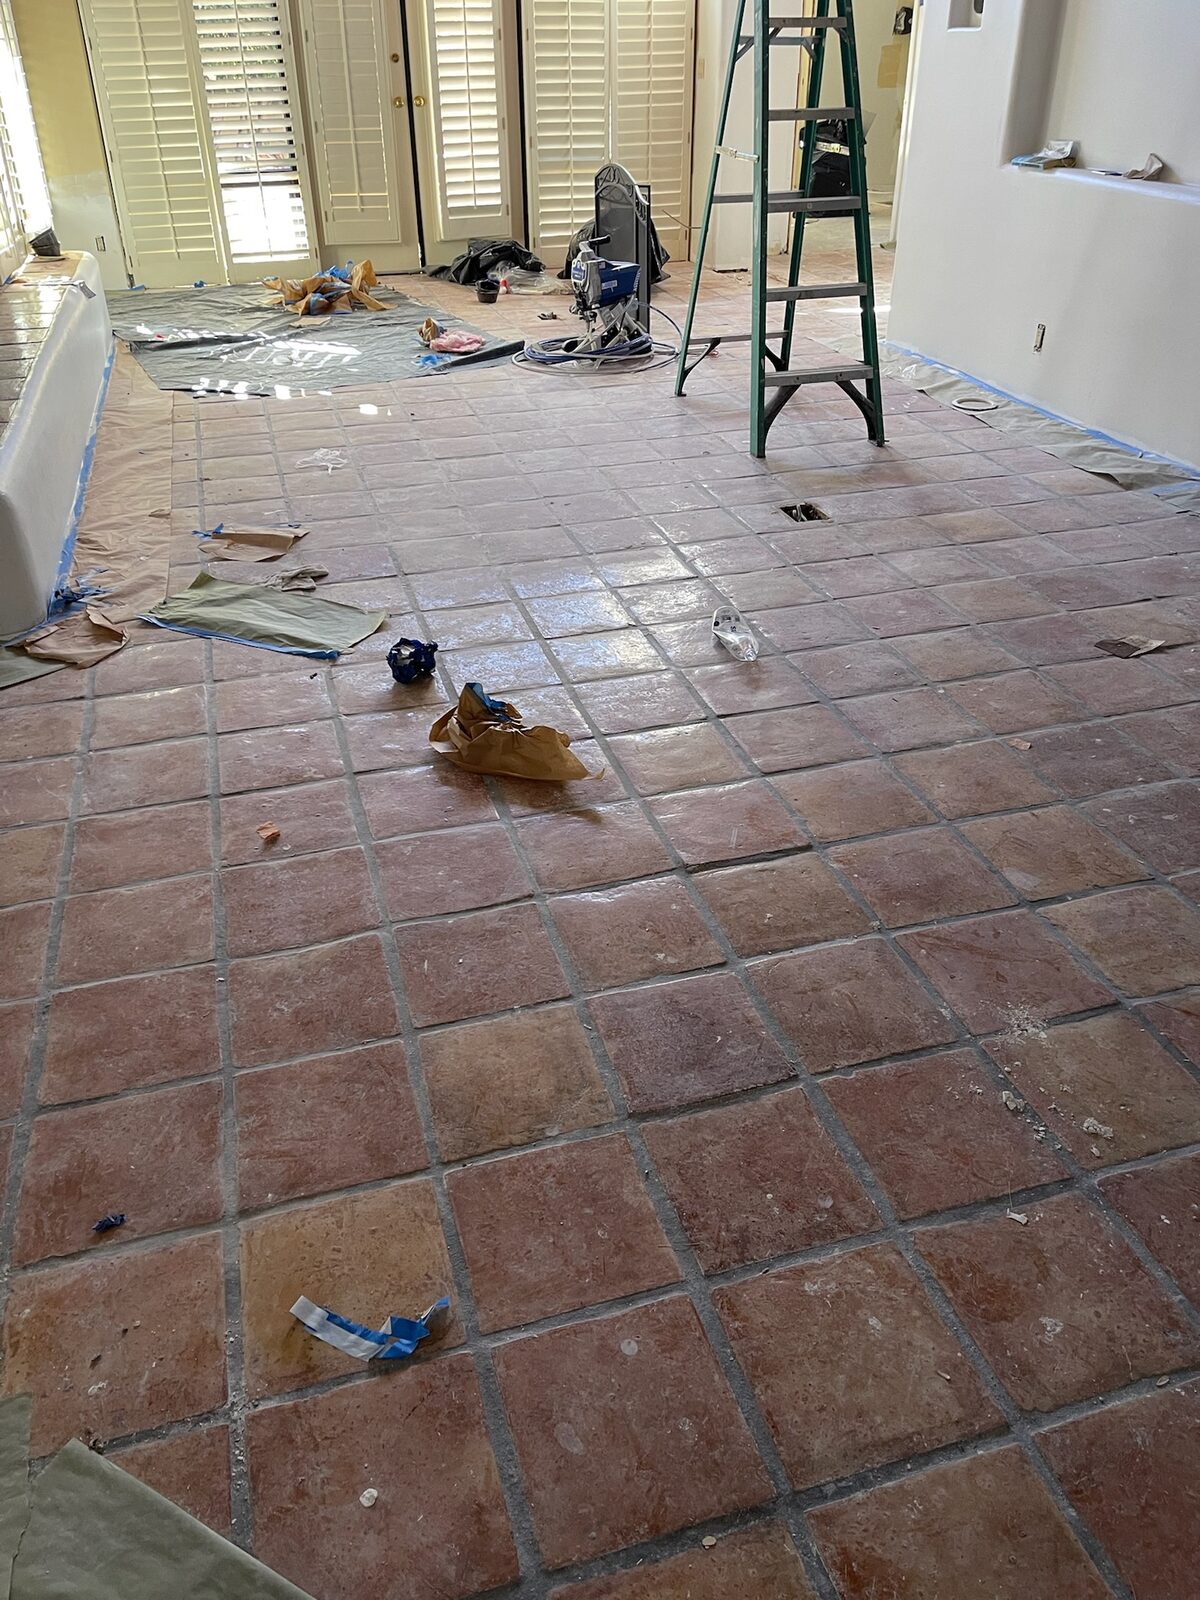
Residential reconstruction work by members of our team. See the full gallery →
More from Gold Water Fire
Abrasive Cleaning Methods for Soot on Framing and Masonry
A look at how abrasive cleaning methods remove soot from wood framing and masonry after a fire, and when each method fits the material.
AC Condensate Line Clogs & the Water Damage They Cause in Phoenix Homes
Why Phoenix AC condensate lines clog every summer, what the water damage looks like, and how to find the source before the ceiling stain spreads again.
Actual Cash Value vs Replacement Cost: Why Your Check Might Not Match the Repair Bill
Confused why your insurance check seems short after fire or water damage? Learn the difference between actual cash value and replacement cost coverage.
Dealing with a flooring repair after water or fire damage?
If part of your floor needs to be replaced because of a leak, a fire, or related damage, our team can walk through the space with you and talk through what a repair versus a full replacement would involve. Reach Gold Water Fire at (480) 999-3339 or Help@goldwaterfire.com, or visit our <a href="/contact.html">contact page</a> to get in touch.
Call (480) 999-3339Water Damage Restoration · Fire Damage Restoration · Reconstruction & Rebuild · Contact Gold Water Fire