
The Final Walkthrough and Punch List at the End of a Rebuild
There's a strange moment near the end of a rebuild where you're supposed to feel relief, but instead you're standing in a room that looks almost like your old life and you're not sure what you're even looking for anymore. You've been through months of contractors, insurance calls, and decisions you never wanted to make, and now someone hands you a clipboard and says "take a look around" like that's a simple thing. It isn't. You don't know what's normal wear from new construction and what's actually wrong. You don't want to be the difficult homeowner, but you also don't want to find a problem six months from now that should have been caught today.
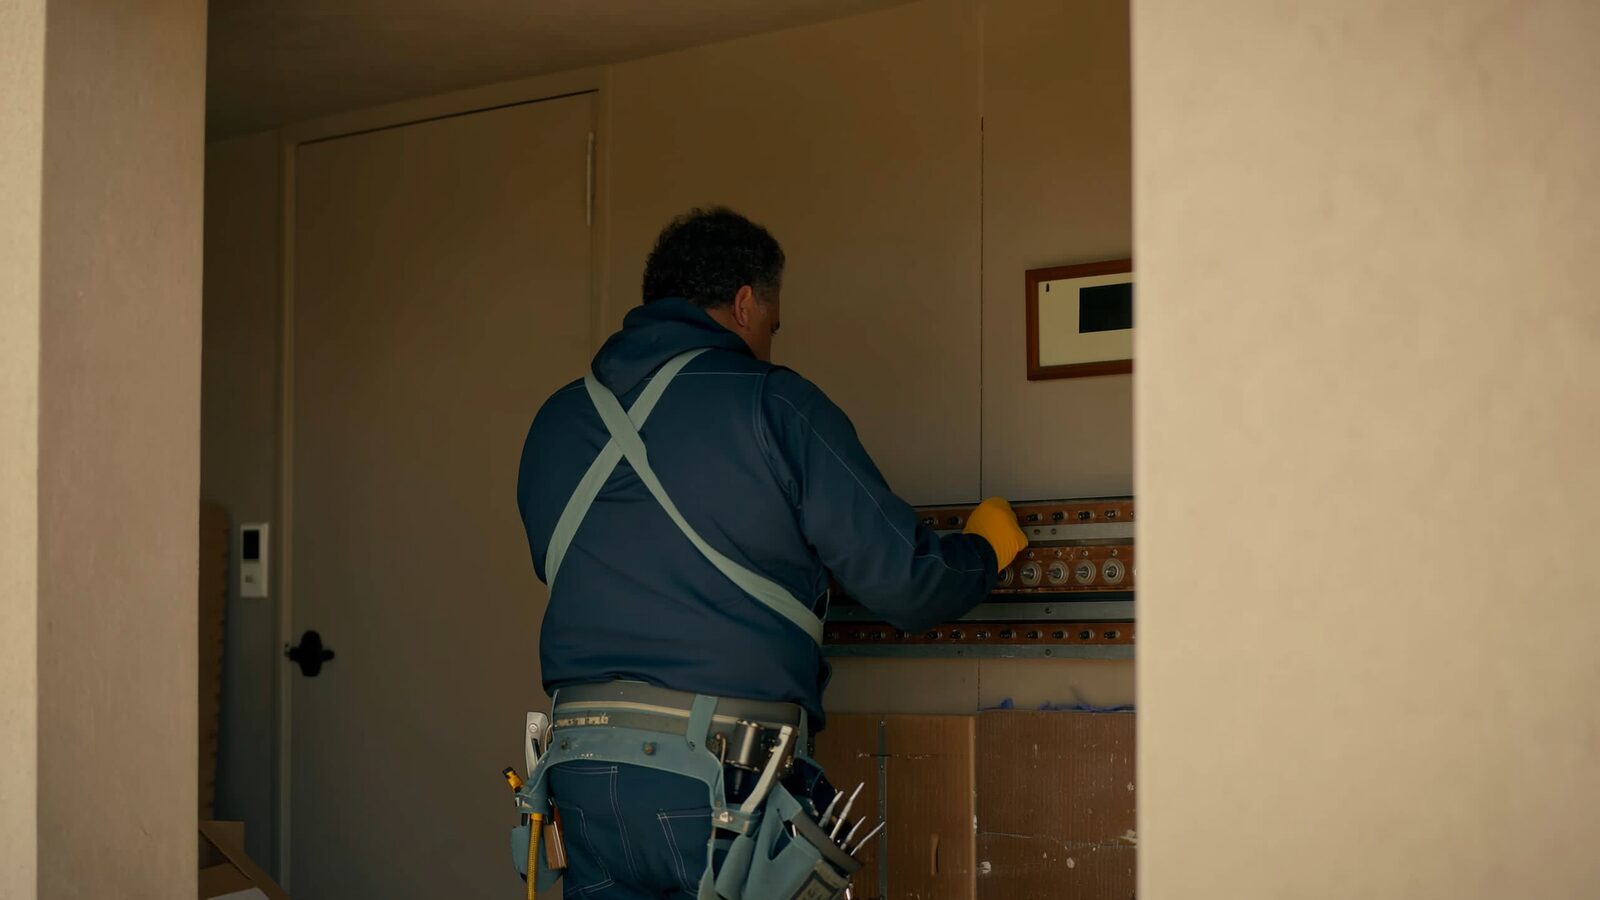
The Final Walkthrough and Punch List at the End of a Rebuild
What a final walkthrough is actually for
The final walkthrough is the point in a rebuild where you and the contractor go through the finished space together, room by room, before final sign-off and final payment. Its purpose is narrow but important: to catch anything that was missed, done incorrectly, or left unfinished while it is still easy to fix. It is not the moment to introduce a new design idea or change something you approved earlier. It is a check against the scope of work that was agreed to, not a fresh wish list.
Building a punch list that holds up
A punch list is simply the written record of everything found during the walkthrough that still needs attention: a door that doesn't latch, a paint line that wasn't cut in cleanly, an outlet cover left off, caulking that pulled away from a tub surround. The list matters because memory doesn't. If it isn't written down with a specific location and description, it tends to get lost between the walkthrough and the actual repair. A workable punch list names the room, describes the issue plainly, and leaves space to note when it was fixed and by whom.
Room by room, what to actually look at
Move slowly and check the same categories in every room so nothing gets skipped because you're tired by the third bedroom.
Walls, ceilings, and paint
Look at wall surfaces in raking light (from the side, not straight on) to catch texture mismatches, seams, or nail pops that flat lighting hides. Check that paint sheen and color match adjoining untouched walls if this was a partial rebuild.
Flooring and transitions
Walk the full floor, not just the middle of the room. Check where new flooring meets old, that transition strips are secure, and that there's no lippage or gap at thresholds and closet entries.
Doors, windows, and trim
Open and close every door and window in the affected area. Doors should latch without being lifted or forced, and window locks should engage cleanly. Check that trim and baseboard are caulked and painted, not just nailed on.
Systems: electrical, plumbing, HVAC
Test every outlet and switch that was part of the work, run water at every fixture that was touched and check under the sink for drips, and confirm vents or registers in rebuilt areas are producing airflow.
Odor, dust, and the things you can't always see
After fire damage work especially, smell is a legitimate part of the walkthrough. A faint smoke odor that lingers in a closet or behind a returned appliance can mean a surface wasn't fully sealed or cleaned. Run your hand along a shelf or window sill for construction dust that was never wiped down before finishes went in, since dust left behind can settle into HVAC systems and reappear for weeks. If something smells or looks off but you can't pin down why, it still belongs on the punch list. You don't need to diagnose the cause to flag the symptom.
What to do if something is found later
Even a careful walkthrough won't catch everything, because some issues only show up after a system runs for a few days or a season changes. Most contracts include a warranty period after completion specifically for this reason. If you notice something after sign-off, document it with a photo and the date, and reach out promptly rather than waiting to build a longer list. A short, specific note is easier for a contractor to act on than a general complaint months later.
Questions people ask us
How long should a final walkthrough take?
It depends on the size of the rebuild, but the goal is to move through every affected room deliberately rather than rushing. Bring good lighting, check systems as well as surfaces, and don't sign off until every item you noticed is written down somewhere.
Should I do the walkthrough before or after final cleaning?
After. Construction dust and debris can hide small defects like paint drips or gaps, so it's harder to see the real condition of the work through a layer of dust.
What if the contractor disagrees that something is a defect?
Compare the item against the original written scope of work. If it was included in the scope and isn't finished to that standard, it belongs on the punch list regardless of opinion. If it's outside the original scope, that's a separate conversation about additional work.
Is it normal to have a long punch list?
A punch list with several small items is common on any rebuild, since finish work involves a lot of individual details. What matters more than the length of the list is whether each item gets addressed and confirmed before final sign-off.
The standard our team works to
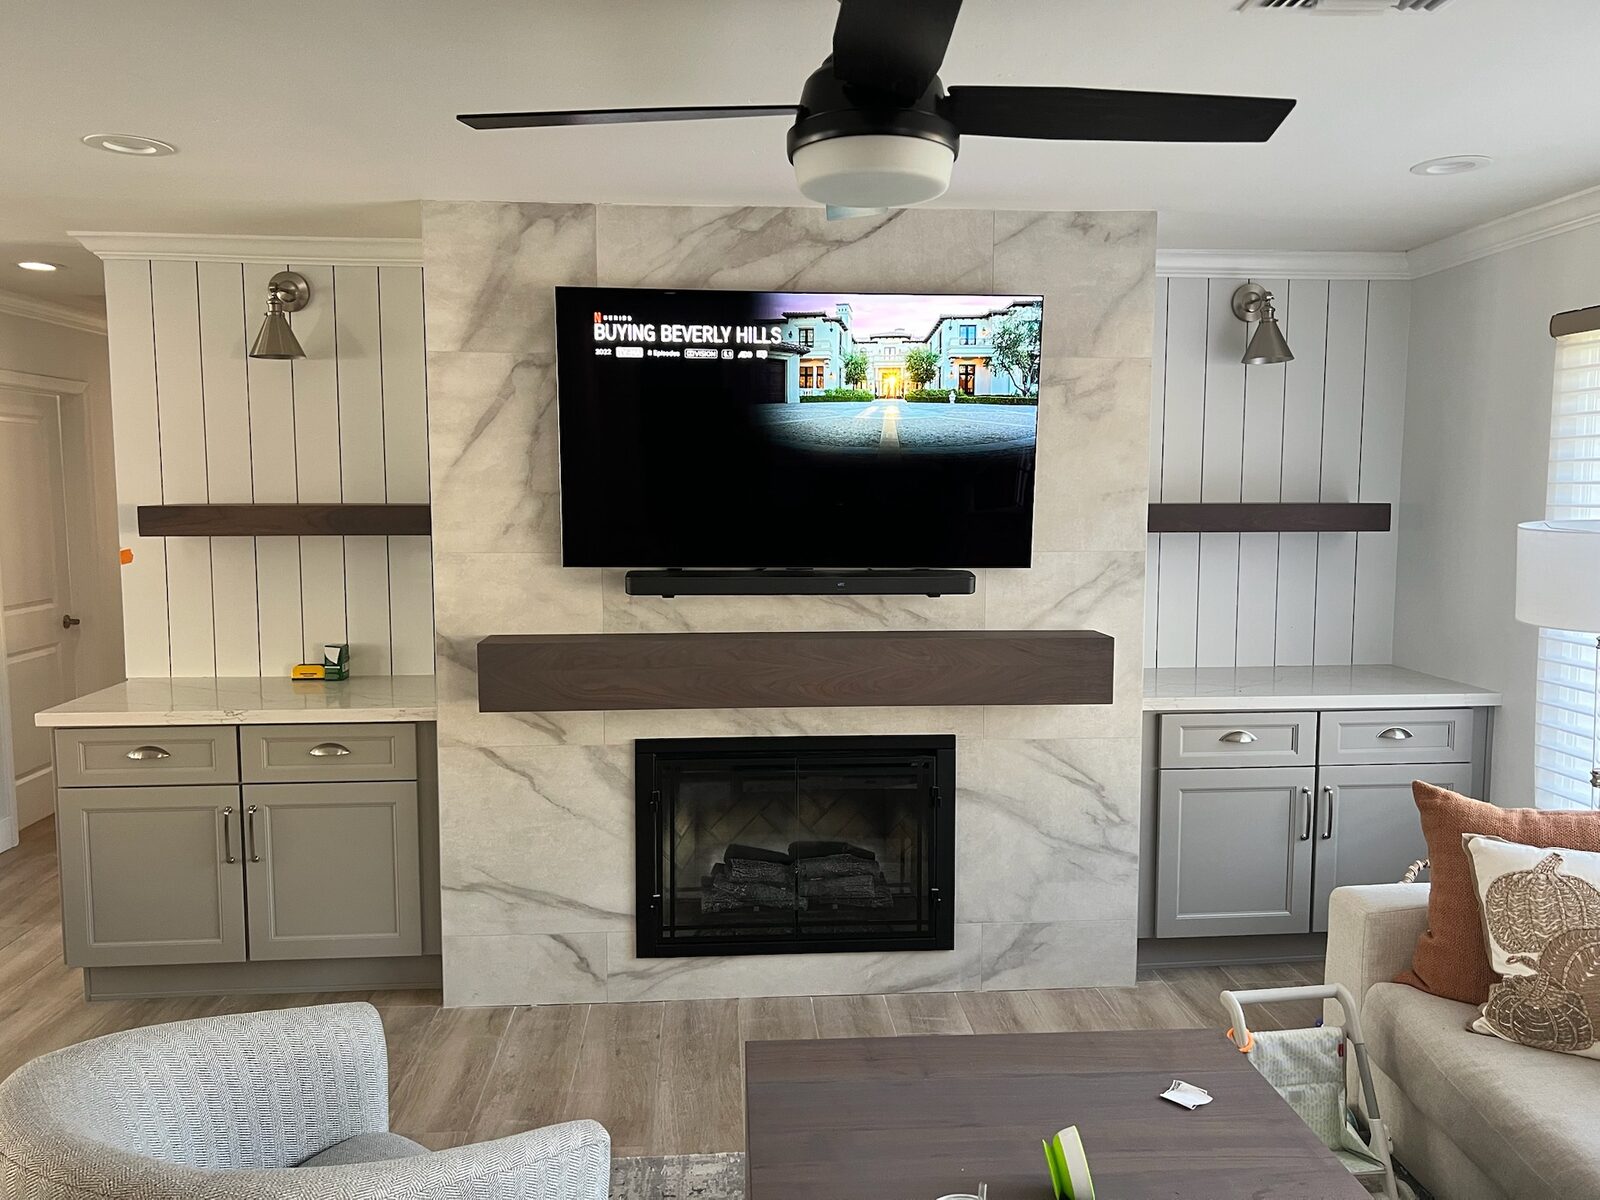
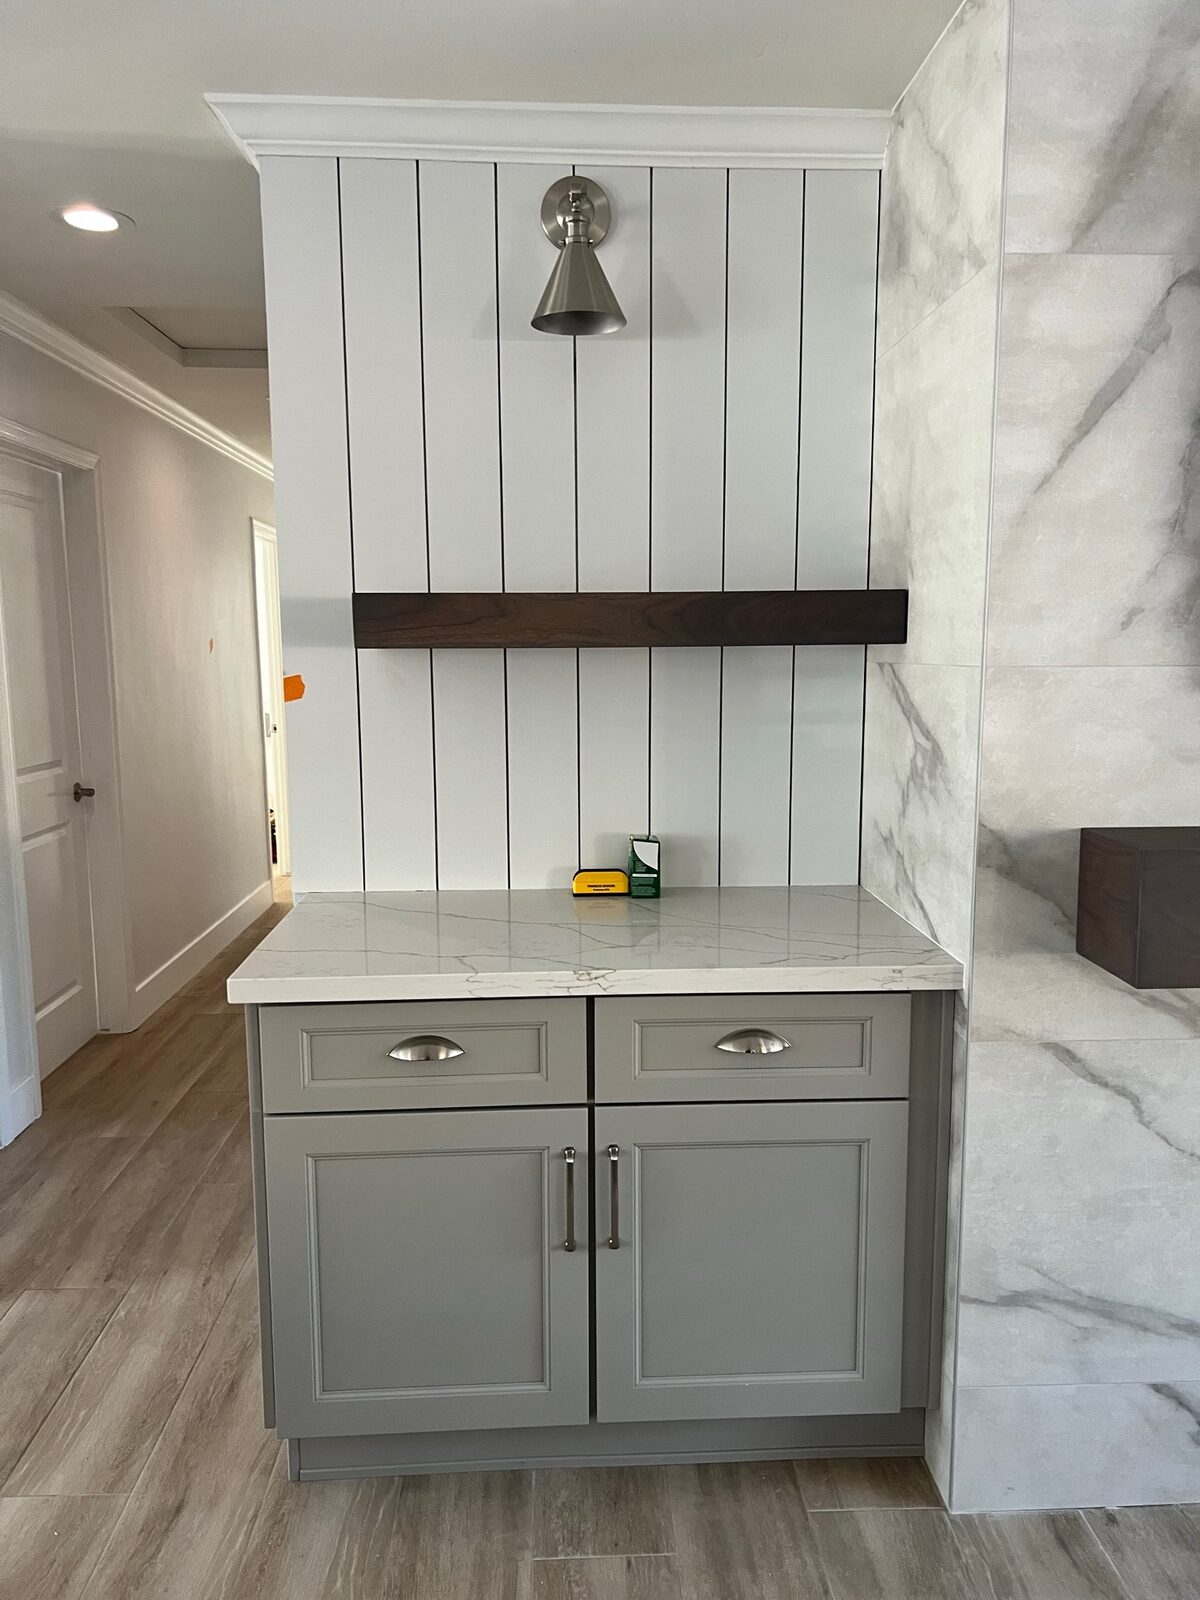
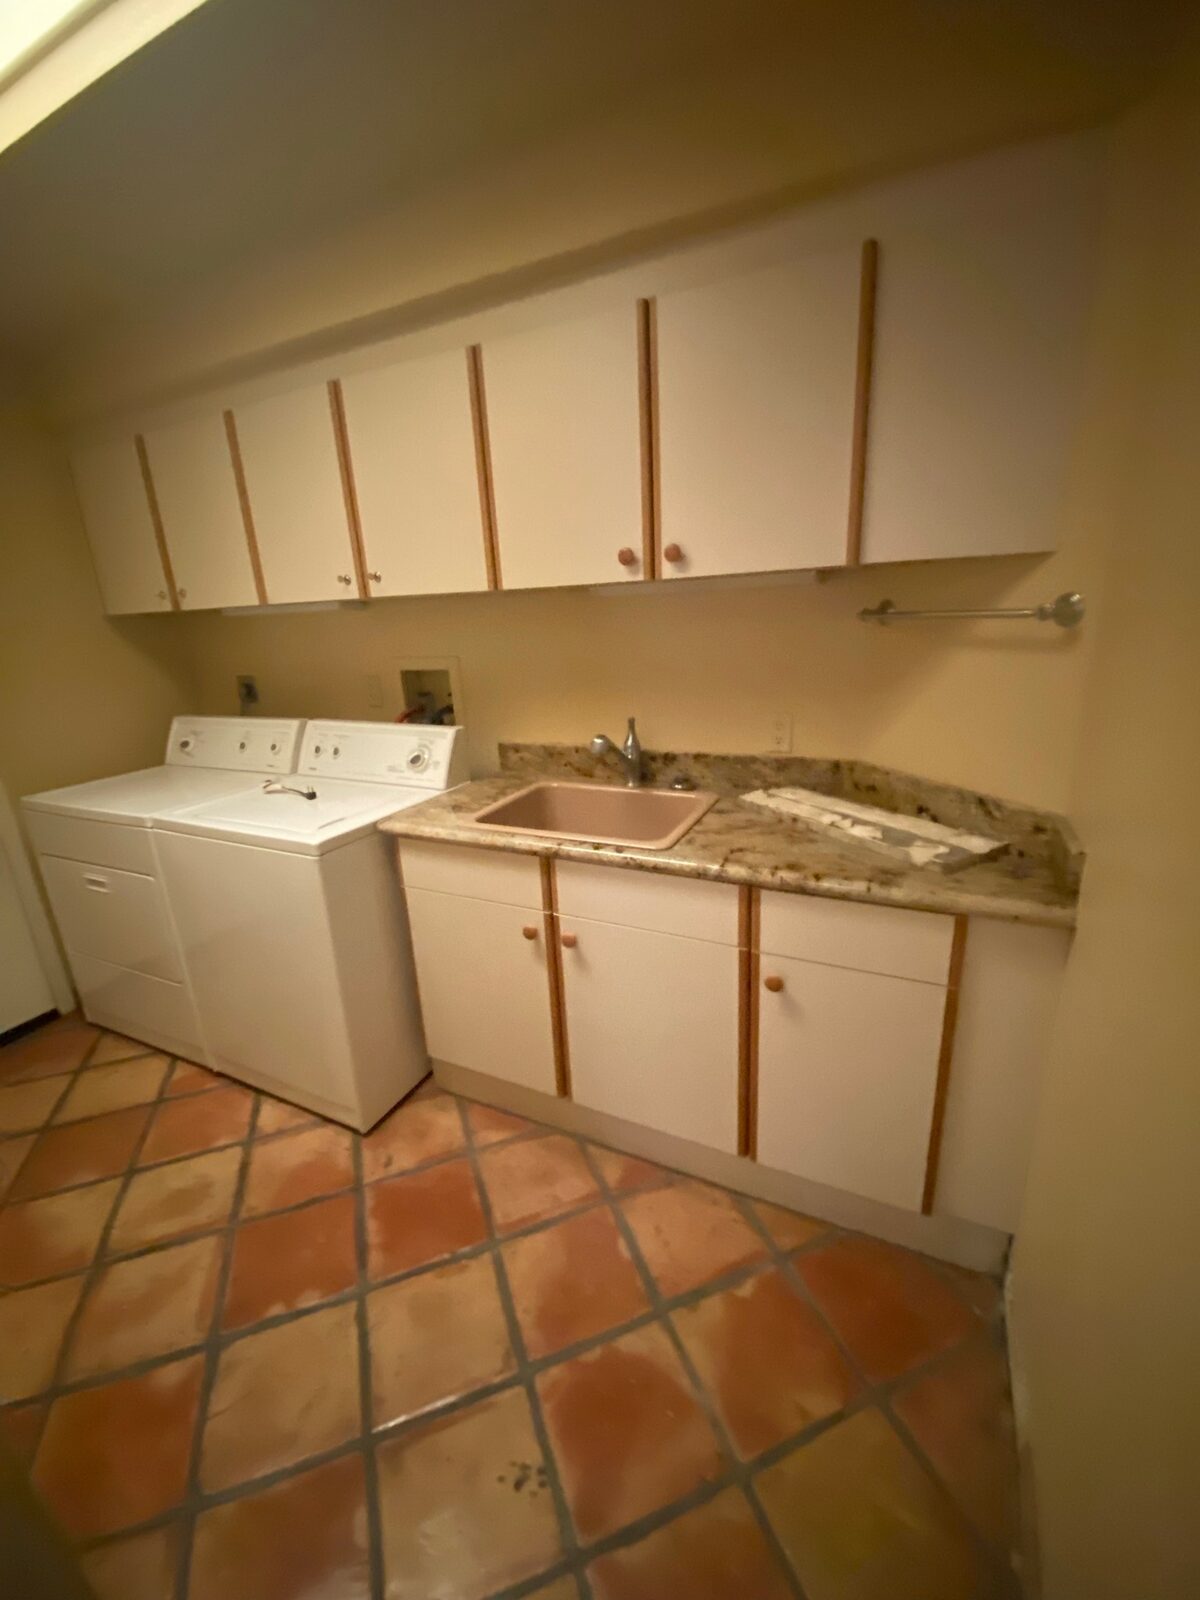
Residential reconstruction work by members of our team. See the full gallery →
More from Gold Water Fire
Abrasive Cleaning Methods for Soot on Framing and Masonry
A look at how abrasive cleaning methods remove soot from wood framing and masonry after a fire, and when each method fits the material.
AC Condensate Line Clogs & the Water Damage They Cause in Phoenix Homes
Why Phoenix AC condensate lines clog every summer, what the water damage looks like, and how to find the source before the ceiling stain spreads again.
Actual Cash Value vs Replacement Cost: Why Your Check Might Not Match the Repair Bill
Confused why your insurance check seems short after fire or water damage? Learn the difference between actual cash value and replacement cost coverage.
Nearing the end of a rebuild in the Phoenix area?
If you're heading into a final walkthrough after fire or water damage repair and want someone to talk through what you're seeing, Gold Water Fire's reconstruction team can answer questions at (480) 999-3339 or Help@goldwaterfire.com. Learn more about how we approach this stage on our <a href="/reconstruction.html">Reconstruction & Rebuild</a> page or read about our team on the <a href="/about.html">About</a> page.
Call (480) 999-3339Reconstruction & Rebuild services · Water Damage Restoration · Fire Damage Restoration · Contact Gold Water Fire